Upper rail – window P2
COMPONENTS BACK PANEL FO SIDE
The rear wall (rear wall) of the Fo I is composed of following parts:
- Dome Light;
- Circuit breaker panel P6-1 (Nav, Inst, and Com);
- Circuit breaker panel P6-2 (Systems) with handle;
- Circuit breaker panel P6-3 (Fuel system, Lighting & Landing gear with handle;
- Circuit breaker panel, P6-4 Air cond & Electrical);
- Circuit breaker panel P6-11 (Window heat) with 2 handles;
- Circuit breaker panel, P6-12 (Window heat) with 2 handles;
- Circuit breaker panel P6-STBY (Power control unit) with one handle;
- Door for (fictitious) storage (Latch);
- Decals with panelnummering and inscriptions;
- Amp-stickers-CB";
- Dummy pliable CB-panels;
- Circuit breaker button caps.
- 2 dummy power outlets 115V;
- Alcove for hanging a fire extinguisher;
- Fire extinguisher;
- Top rail (metal bar) window P2;
- Alcove or tub for fastening rail (metal bar) window P2;
DESCRIPTION
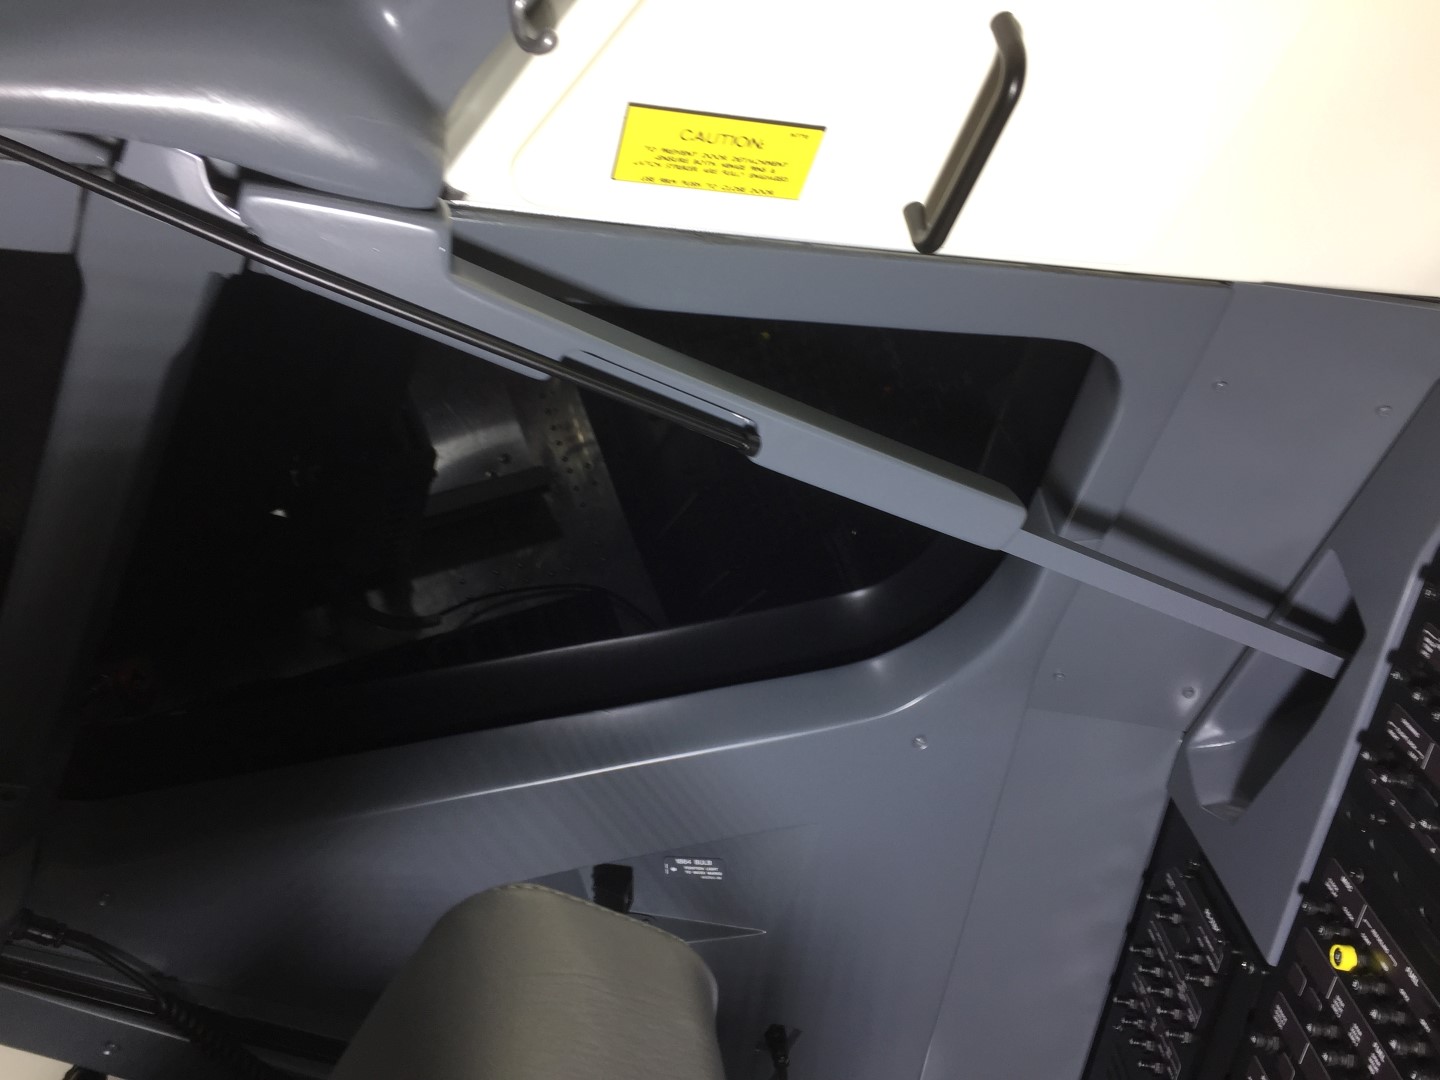
In the two extreme corners of the rear wall there is a niche in which a metal bar or rail disappears. This ‘upper rail’ to the construction of the cockpit. The rail is on the bottom open and would serve as a conductor of window P2 (according to non-official source).
CONSTRUCTION AND CONFIRMATION
The rail I made out a U-profile of 2 mm thickness and 15 mm x 15 mm.
This upper rail is located between the two side windows at the front in a foam/rubbery housing. This is me made out of mdf wood. Mdf is easy to work with. You can find it in all forms of sanding ...
Against this ‘upper rail’ with housing there is also a black tube that is towards the front of the cockpit. To me it is yet unknown what the function is. This tube is made from a metal tube of 8 mm diameter and is attached with a pair of cable holders.
The wooden enclosure is on the outside attached to the rail with a few bolts.
To the front there is also a small metal plate out of aluminum as seen in the real instance. If we're at it ...
With a small metal L-profile is the case with rail in the front attached to the frame of the cockpit.
The ‘tail’ of the rail is in the guide in the nis.
")
")
")
")
")
")
")
")
")
")
")
")
")
")
")
")
")
Here's a couple of images with the dimensions of a real instance.
")
")
")
NIS BACK
The niches have on the inside a sloping and undulating bottom edge. This is obtained by using the corners to fill with putty and then gladgeschuurd.
In the niche at the bottom of the inner opening, I have a metal plate attached with a cut-out opening in the shape of an inverted U. This metal plate in the shape of a U, serves as conductor of the ‘upper rail’ (Win P2). The ‘upper rail’ peace just in this guide.
The color of the nis is boeinggrijs.
")
")


")
")
 (Large)")


")
")
")
")
Translated by Yandex.Translate and Global Translator


