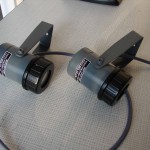
Folder Lights
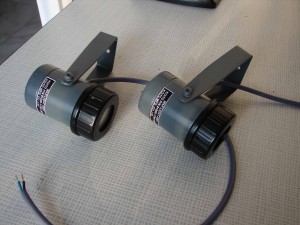
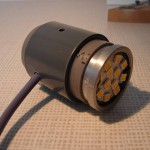
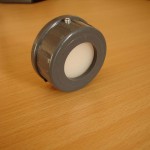
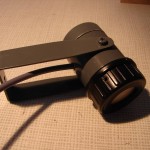
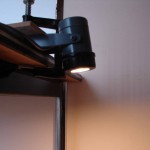
The ‘Map Lights’ are the 2 spots that you can see in the ‘Eyebrow Windows’, and on both sides of the Forward Overheadpanel.
This ‘Map Lights’ to be controlled through the Folder/Chart panel on the front of the ‘Sidewall Table’.
These lights provide the necessary lighting for the reading of the checklist, or the viewing of tickets.
PARTS
The ‘Map Lights’, I was patched together with parts of drainage pipes or pipes for sprinkler systems (to the idea of Martin Van Liempt – EN). Simple things that are found in each hobbycenter.
I am a bit of a deviation from the type of tube than that of Martin. He has they probably met at the Range and I have bought them in a local legerstock, that's a different kind of fittings to sell.
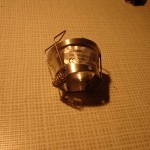
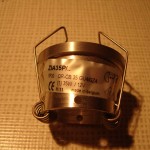
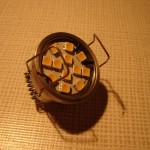
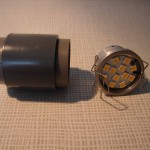
The light with bulb holder fits correctly in the housing (read: drain). The light itself is an led lamp of 12V and 2.4 W. First I have a few tests done with halogen bulbs but they are much too warm with the pvc parts after a while starting to warp from the heat (melt!). So no halogen lamps !
The led lamp is not hot and gives a warm white light (yellow).
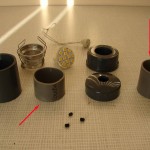
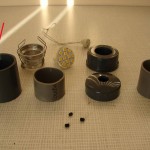
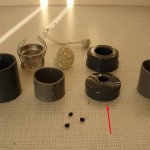
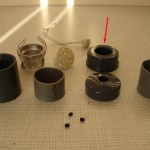
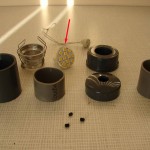
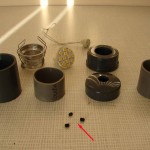
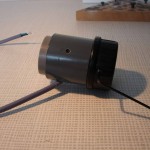
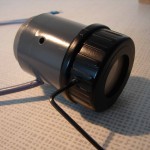
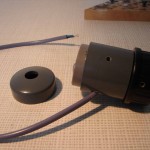
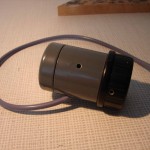
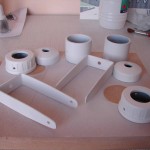
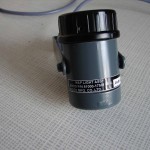
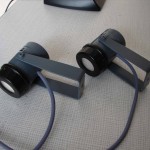
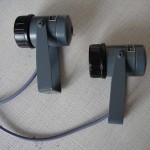
A ‘Folder’commercial is composed of the following components :
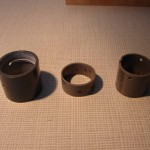
* 2 pieces of a pvc drain pipe (diameter 40 mm) to the internal connections;
.
.
.
.
.
.
.
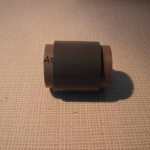
* 1 pvc sleeve (diameter 46 mm) as the central housing;
.
.
.
.
.
.
.
.
.
.
* 1 pvc cap (diameter 46 mm) to back;
.
.
.
.
.
.
.
.
.
.
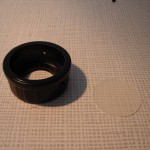
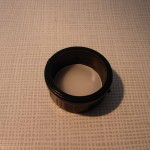
* 1 pvc cap with screw thread (diameter 49-52 mm) as a front spot. When you have this cap buy it is fully closed (on the photo is shown with an opening);
.
.
.
.
.
.
.
.
.
.
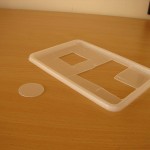
* Round plastic plate (diameter 38 mm) if imitation frosted glass (cut from the lid of a plastic box, where the ice was);
.
.
.
.
.
.
.
.
.
.
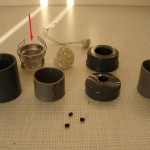
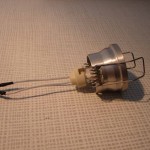
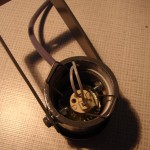
* 1 bulb holder (type ZIA35P/ – IP20 QR-CB 35 GU4/GZ4 – 35W/12V) – local Electro Shop;
* 1 led light (type MR11-12 SMD 12-24V 2.4 W) – Ledlampendirect.nl;
.
.
.
.
.
.
.
.
.
.
* 3 madenbouten of 6 mm length and 4 mm diameter to the lid front-to-anchor – Fabory.be;
.
.
.
.
.
.
.
.
.
.
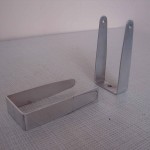
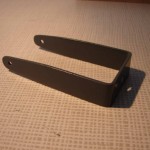
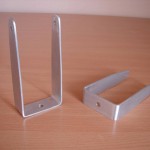
* 1 home-made bracket in aluminium (2 mm) to the ad to attach to the Forward Overhead (or Eyebrow Window).
. .
.
.
.
.
.
.
.
DIMENSIONS
- The full length of the Map Light is 82 mm;
- The cap front is 23 mm;
- The central enclosure in the middle is 40 mm;
- The lid rear is 19 mm;
- The mounting bracket is 102 mm long and 20/13 mm wide .
COMPOSITION
– The connection plate, which serves as a central casing, is cut to size and this on a length of 40 mm;
– Of the outlet tube 40 mm diameter are then 2 pieces of lumber. This will be on both sides of the connection plate is pushed (to the middenrib of the mof). Make sure that, on both sides, enough tube sticking out, afterwards they're still cutting;
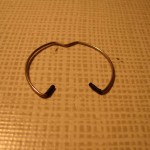
– The bulb holder is now equipped with the led lamp. The led lamp is anchored in the holder by a metal clamp ring or a spring. This ring has the ends 2 brackets that go inside, and after confirmation, the led lamp may cause damage (short circuit !).
Therefore, it is recommended that the both brackets to insulate it with a shrink tube.
You can then select the first wiring connection. With the purchase of the bulb holder is there already a connector with wiring (15 cm).
– Now is the bulb holder with the bulb in the inner tube is pushed.
– The pvc cap with screw thread (diameter 49-52 mm) if the front of the ad. This is on the front on the bulb holder is slid. You will notice that the thread is in the way. That first need to look like machined so that the inside of the cap is smooth and enough room for the bulb holder. The bulb holder should be at the front of the lid.
To the front of the lid is a round hole drilled or turned of 27 mm.
Not to be against the Smd leds to look and what lichtdemping to give I have in the lid round white plastic laid. That I cut from the lid of a box with ice in it.
I then on the edge of the cap on 3 points tapped for 3 madenschroeven (diameter4 mm and length 6 mm) to confirm and for anchoring the cap against the tube or bulb holder.
Now you can also see if the inner tube is not too long. The cap should fit against the central plate. The excess of the inner tube is then weggezaagd.
– The back of the ad is ended with a rounded cap. This lid I have (with rounding) cut on 19 mm. In the middle I have a hole drilled 14 mm for cooling (with the use of an led lamp this is negligible).
The lid is then on the other inner tube is slid to the rear exit.
– The length of the bracket depends on the size of the ‘Eyebrow Window’. I have real "Eyebrow Windows" of a B737-300 in which an opening is provided for the Map Light brackets. Which can therefore be confirmed at the coverbox of the FWD Overhead. Other setups such as in homemade ‘Eyebrow Windows’, the brackets against the ‘Eyebrow Windows’.
The brackets I cut out from an aluminum plate of 2 mm and then crimped. Minor flaws are eliminated with the file...
First, there are the necessary holes for the fastening of the bracket to the body of the ad. Subsequently, the beugelarmen attached with 2 bolts and corresponding nuts.
Afterwards, everything a lick of paint to be given. First a primer and then a few coats of lacquer. The housing and lid back I ACC R6.06.30 Satin (RAL7011) used and the lid front just black satin (RAL 9005).
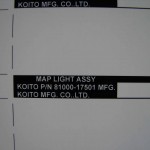
If valve and the icing on the cake, I have the Map Lights with the necessary decals. After studying various photos of the real Map Lights are the designs made in Photoshop and converted in Pdf format (download here).
Then printed on glossy photo paper and the back with double-sided tape and the stickers are ready.
After the full assembly I have the Map Lights for a couple of hours to burn to afterwards, not for unpleasant surprises are to come. They are approved and ready for use ...
*** Download Decals Folder Lights ***
.
.
CONFIRMATION
For the confirmation of the ‘Map Lights’ in the ‘Ceiling’ (Eyebrow windows), I refer to the following page :
http://www.flightdeck737.be/hardware/platform/ceiling/
Translated by Yandex.Translate and Global Translator
