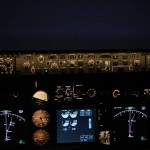
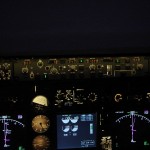
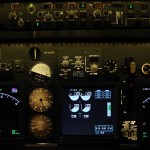
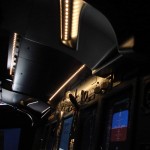
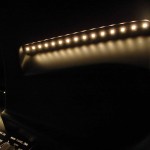
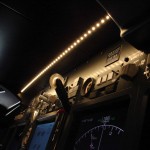
MIP lighting
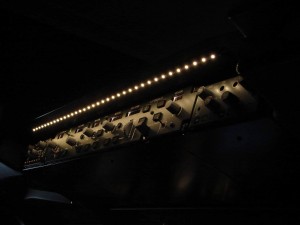
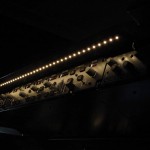
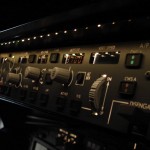
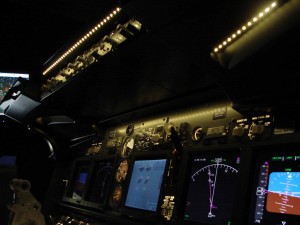
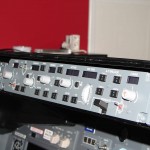
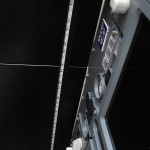
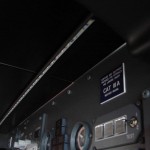
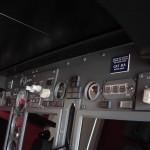
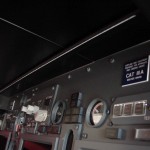
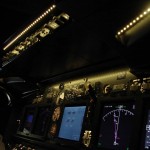
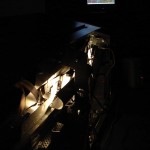
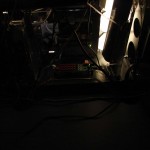
This lighting is just before and above the MCP.
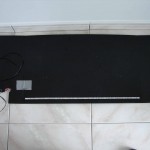
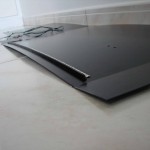
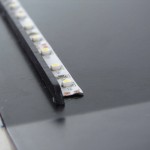
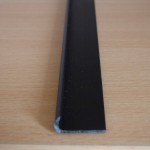
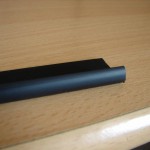
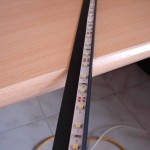
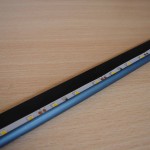
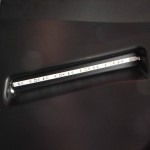
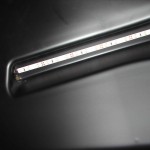
I have a small board of 530 mm x 5 mm sawn off plexiglas of 3 mm thickness.
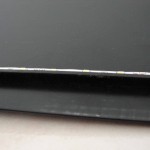
This policeman I have black (satin) painted to no light to pass through and with contents against the underside of the glareshield pasted (20 mm of the glare shield-edge).
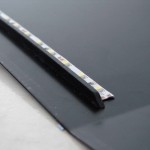
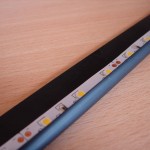
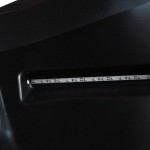
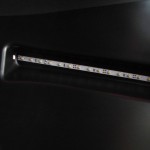
Just behind this plexiboordje there is an led strip stuck of 530 mm. The leds give a warm white light (warm white). This led strip is on a roll to purchase and will be sold from 5 cm (Electronic Parts Hamont). You can also go to Ledstripxl.nl. Cheap and fast delivery.
These led strips are extremely flat and narrow and therefore easy to hide. On both sides there is a + and – for the soldering of the wires.
Specifications of the led Strips :
- 8 mm wide;
- Not waterbeschermd;
- Each segment consists of 3 Smd leds;
- Each segment is 5 cm and afknipbaar;
- 12V;
- Color is warm white (also yellow);
- Rear side is equipped with 3M plaktape.
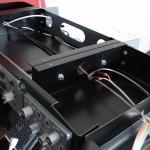
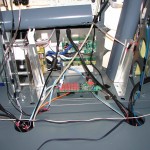
Then this led strip is connected to the backlight controller (Channel 1) and is controlled via a dimschakelaar on the Lower Panels (Capt Side – AFDS FLOOD). This dimschakelaar is also connected to the backlight controller (one from the set of 3 dip switches).
The backlight controller is in turn connected to a pc-power supply. This backlight controller and the dip switches come from FlyEngravity.
.
.
.
.
.
.
.
.
.
.
.
.
.
.
.
.
.
.
.
.
.
.
.
.
.
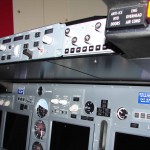
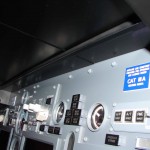
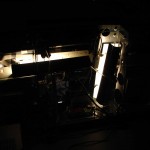
The ‘background’lighting is the lighting that is located under the MCP –bottom glareshield and the bottom of the two glarewings.
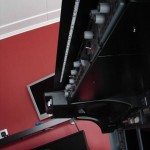
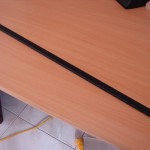
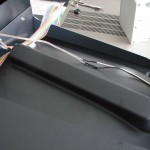
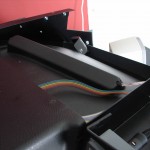
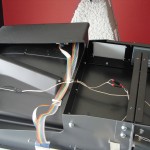
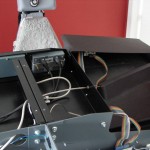
For the bottom glareshield, I have a plastic black afsluitboord (Gamma) placed to one side of the curvature. This plastic board has a length of 730 mm and 20 mm wide.
The confirmation of this black boordstrip against the underside of the glareshield is carried out with double-adhesive tape.
In the black board, just behind the curvature, I have a led strip (which is the same AFDS FLOOD) pasted from 700 mm length. On either side of the black board there is a hole drilled through the glareshield for the routing of the cables.
In the glarewings are already cutouts provided by FlyEngravity for attaching led strips. In these recesses I have led strips stuck of 250 mm length. In these cut-outs have also on both sides, a hole drilled for the cable routing.
These cables of the glarewing-strips are connected with the construction of the led strip under the glareshield. One of the cables of one glarewingstrip is in turn connected with the backlight controller (Channel 2). The background MIP-lighting is controlled via a dimschakelaar on the Lower Panels (Capt Side – BACKGROUND). This dimschakelaar is also connected to the backlight controller (one from the set of 3 dip switches).
.
.
.
.
.
.
.
.
.
.
.
.
.
.
.
.
.
.
.
.
.
.
.
.
.
.
.
.
.
.
.
.
.
.
.
.
.
.
.
.
.
.
.
.
.
.
.
.
 BACKLIGHT LIGHTING INSTRUMENTS
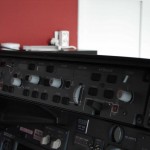
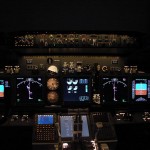
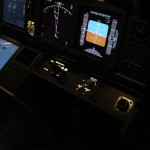
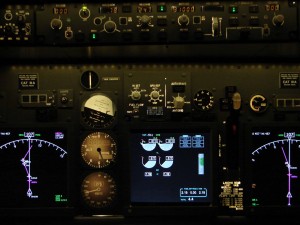
The instruments are dummies, and are as good and as evil as possible, recreated in Photoshop and confirmed in the berschillende openings in the MIP.
To the whole more pleasant and realistic to look to have these instruments are equipped with backlighting.
I did this with a pair of end caps (Brico or Gamma) is used for the underground cables to protect against possible damage (e.g. By digging or spading).
In this cover I leddstrips stuck with a length that matches the height or width of the instruments.
These caps give a good closure of the unnecessary light that is scattered by the led strips.
The led strips are also connected together and in turn connected to the backlight controller (Channel 3).
The backlight illumination is controlled via a dimschakelaar on the Lower Panels (F/O Side – MAIN PANEL). This dimschakelaar is also connected to the backlight controller (one from the set of 3 dip switches).
Translated by Yandex.Translate and Global Translator
