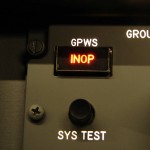
Interface annunciator ON INOP
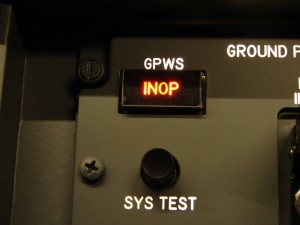 In a 737 cockpit full of warning lights or annunciators’ (indicators). They are mainly found in the MIP and Overhead.
In the ICS MIP or ICS OVH sit all of these annunciators, the ICS, pcbs and interfacing it also happens directly through the ICS system.
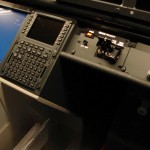
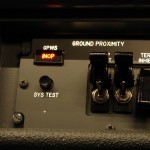
The annunciator (ON INOP), which is located on the Lower Dimming Panel (F/O) does not belong to the ICS and therefore it should be ‘manually’ controlled.
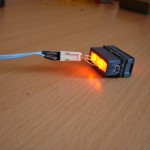
As a test or experiment I for this purpose use is made of the ‘Pokeys Led Extension board’.
I already had a Pokeys for other things to interface with, and the Led Extension board’ was for me a very cheap solution to this single annunciator to interface with.
.
DESCRIPTION
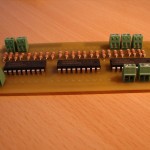
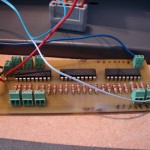
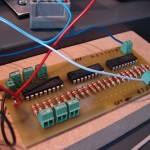
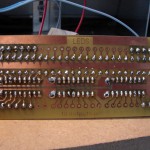
The Led Extension Board is such as the Pokeyskaarten sold by Querit from Merksem (FlightSimParts).
A Pokeyskaart can be both inputs (switches) if outputs (leds) connect. Only the outputs are limited to leds of 4 mA with a total of 100mA in total. If you want e.g. an annunciator (with 2 leds) on one port of the Pokeys hang out you can go above the maximum amps.
Therefore, the use of the Led Extension Board that this restriction solves the problem.
With this card one 24 outputs for High Power leds and with different leds can connect to a single output with a maximum of 200 mA per output.
You can map themselves in each other crafting (like I did) or you can take them and ready to buy at FlightSimParts. This card has a power supply need of 5 Volt. Additional software is not necessary.
.
COMPONENTS AND COMPOSITION
What you need :
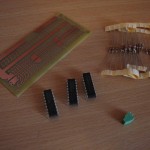
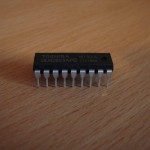
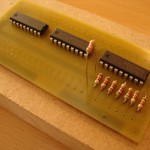
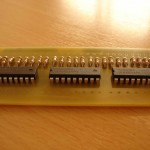
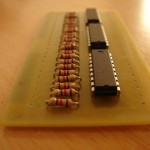
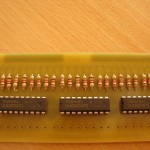
- 3 IC's (Integrated Circuits) ULN2803A (Electronic Parts hamont);
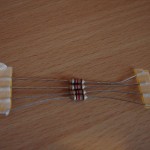
- 24 resistors (resistors) 0,25 Watt – 120 Ohm (or a value that is suitable for the leds you are going to use) (Electronic Parts Hamont);
- ‘Terminal blocks’ of 2.5 mm for the connecting of the leds (you can have the wires directly soldered on the card). You can also ‘terminal blocks for the connections to the Pokeyskaart (Electronic Parts Hamont).
.
.
.
.
.
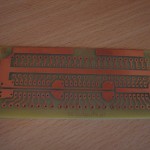
The etched pcb with pre-drilled holes, I have gotten of Wendy (Flightsimparts) thank you for the advice and good service.
Only the terminal blocks were difficult to find because the pre-drilled holes were not always correctly matched with the pins of the terminal blocks. With a little wringwerk able to do this.
The total cost is around 10 Euro.
Everything I have then soldered and subsequently checked by the elektronicaspecialist of our FS club (Marnic Teerlinck). It is also the first time that I have a pcb in hand, take and ‘you never know’.... (Some of the contacts were not sufficiently provided with solder).
.
.
.
.
.
.
.
IINTERFACE ANNUNCIATOR ‘ON INOP’
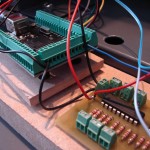
After the soldering is the card connected to the Pokeys and then the interfacing can be done.
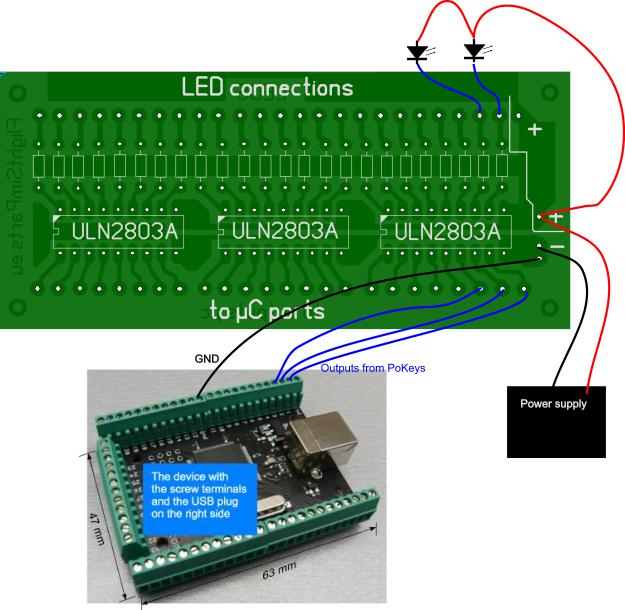
Here is a drawing of FlightSimParts (Wendy) how everything must be connected.
.
.
If everything goes according to the plan is connected, it is but a breeze for the leds to interface with ProSim737.
In the config-tab of ProSim737 you choose ‘Indicators’-tab and then for the function (ON Inop). And even then the selection of the Pokeys card number and corresponding port in which the annunciator is connected.
The annunciator begins to lighten after the establishment of the vliegtuigbattery and goes off after the startup of the APU. The light goes back on when pressing the button ON the SYS TEST (after +- 10 sec) and goes back out after the end of the test.
.
.
.
.
.
The full ON-test is not fully implemented yet in ProSim737.
I've found that the annunciator on the back a lot of light issues and it is therefore recommended that the white image, in which the leds sit, paint over with black paint.
Translated by Yandex.Translate and Global Translator
