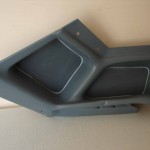
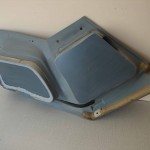
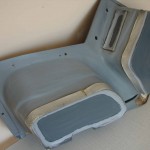
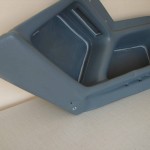
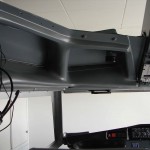
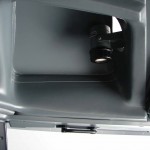
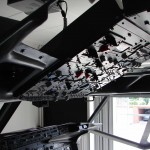
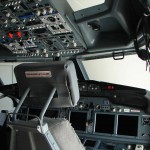
Eyebrow windows
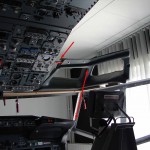
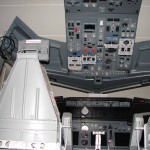
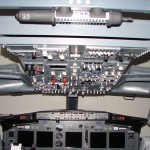
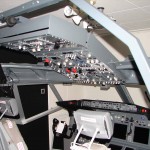
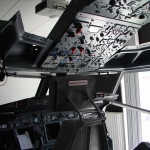
The ‘ceiling’ or ceiling of the cockpit is divided into 3 parts :
- Front (front ceiling) with folding handles;
- Eyebrow windows with map lights;
- Rear (rear ceiling) with decals.
EYEBROW WINDOWS
Description
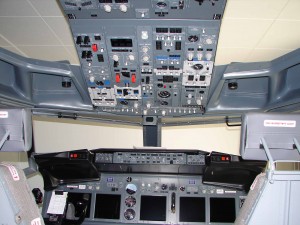
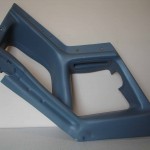
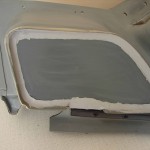
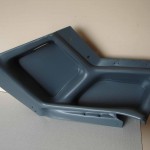
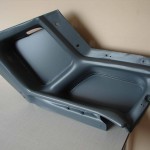
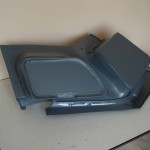
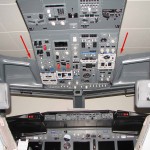
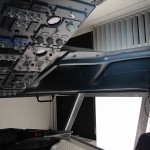
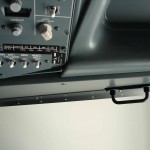
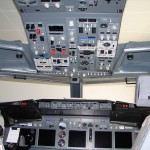
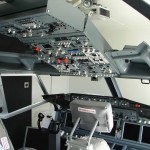
Outside the front windows (windshield) and side we have the ‘Eyebrow windows’ or the small windows that are on the left and on the right, just above the front windows.
This "Eyebrow windows" are also an important part of the ‘ceiling’ and will cover almost 1/3 of the ceilingoppervlakte. The actual usefulness of these small windows is obsolete and they are used little or not used.
The sun shines through it making it very hot in the cockpit. The result of this is that the newer B737-types this "Eyebrow windows" are covered or gone.
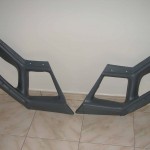
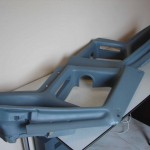
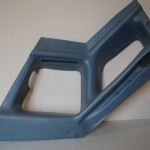
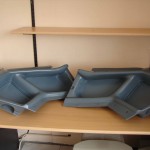
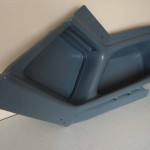
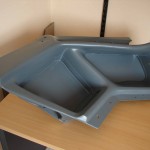
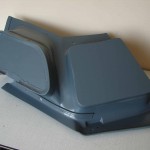
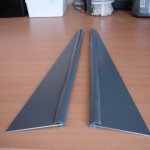
I have a second hand set on the head can tap and which is to come probably from a B737-300. This ‘Eyebrow windows’ differences of shape and size than that to be found in the newer B737-800 NG.
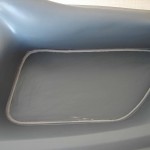
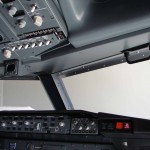
The ‘800 NG Eyebrow windows " are larger, firmer shape, darker color and the windows are covered (on a few details after ...). I also made the necessary adjustments to do to them as much as possible to resemble those of the 800NG :
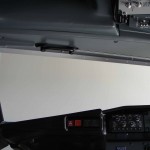
- Capping or closing of the window openings;
- Painting in a dark NG-color;
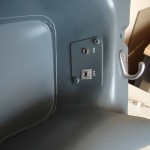
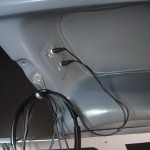
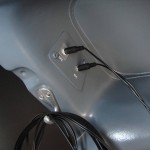
- Installation of two female mini jackplugs for connecting a headset (SPK/MIC) (Communication Jacks Panel);
- Assembly/installation in the ‘ceiling’ adjust in accordance with the frame of the side and Forward Overhead.
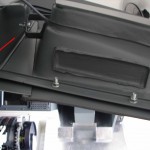
Cover of the window openings
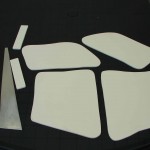
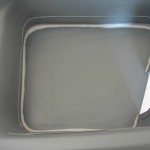
To the window openings close, I have scraps of used PVC Foam panels 6 mm thickness. PVC Foam has the property of being very light, sturdy and good machinability.
The shape of the holes, I marked and then cut out with a jigsaw. The grand opening, I've signed off and then the top mount. Then have on the inside is more space for my Map Light (kaartspotje) to rotate or tilt.
The small openings of the "Eyebrow windows" I have been closed off by the PVC pieces in it to build up in the openings. Since the edges on the outside of the small openings is not completely flush, this was the best solution.
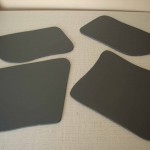
First, I have the PVC pieces with a primer and then a grey colour.
The assembly of the pvc pieces in the holes I have done with Tec7. This Tec7 is used for mounting all kinds, glues very well and can be painted.
Painting in a dark NG-color
First I did the ‘Eyebrow windows’ thoroughly pure made with some soapy water and paint thinner. The thinner should be to stubborn stains and adhesive residue to remove.
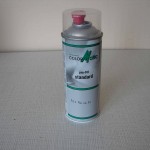
I afterwards everything is handled with a degreaser. The painting is done with a spray can. I have no primer used, but immediately have everything 2x sprayed in the coat colour (RAL 7011 or ACC R6.06.30). The use of a spray can will give a smoother and nicer result.
Normal are the ‘Eyebrow windows’ painted in a matt grey colour. When spraying with a spray can I had only the choice of synthetic paints and this is not available in matte color. The most similar is ‘Soft Satin’.
These aerosols, I have to fill in a local paint store where they have a tool for aerosol cans.
The disadvantage with the use of spray cans is that they will quickly be empty. There is relatively little paint but a lot of gas. With the use of a spray can the following rules be observed :
- A minimum of 2 to 4 minutes, shaking the spray can for a good mix;
- The surface must be dust-free. First with a wrung out cloth everything wipe, afterwards, possibly with air compressor all blow off.
- The spray can it is best to do in the open air, early in the morning with dew on the grass, and with windless;
- The spraying must be done in a smooth back-and - forth movement and not for too long at one same place syringes (ongoing paint!).
- Preferably spray in several layers instead of one thick layer (current paint !) and between each layer is sufficient to wait (until next day);
- After using the spray for a few seconds upside down to use the nozzle to clean the inside;
- After use, the outside of the nozzle clean with white-spirit. One can also the next spuitbeurt a new nozzle use;
- As with any painting, it is important a few days drying time to be respected.
Communication jacks panel
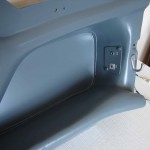
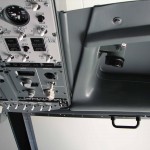
The communication jacks panel’ is located at the back of the inside of both of the ‘Eyebrow windows’.
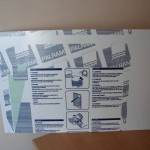
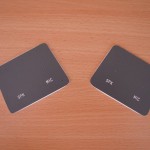
Here are the 2 connectors for the ‘boom’ microphone/headset and headphones. Since we work with headsets for pc, I have a plastics plate engraving for SPK and MIC.
The picture I have as much as possible imitated, to make it seem like in the real.
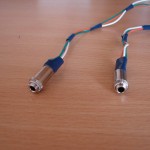
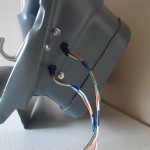
On the back of the ‘Eyebrow window’, I have 2 holes in which I 2 female mini-jacks 've built. One so to SPK, and the other for the MIC.
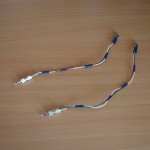
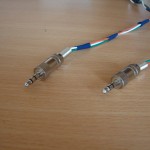
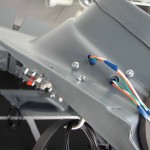
The female mini jacks I have with an adapter cable, in turn connected with a male mini jack. This male mini-jack is an audio extension cable in the direction of the ATC-pc (with IVAP and Teamspeak). One so for the microphone and one for the speakers.
Assembly of the ‘Eyebrow windows’
When you are viewing photos of a real cockpit, one can notice that the middenrib of the ‘Eyebrow window’, in the line running from the corner formed by the front window and the first window opening.
Also, one can see that the side of the ‘Eyebrow Window’ ties against the ‘Forward Overhead.
Since I was in my situation to use go to create a set of old ‘Eyebrow windows’ (probably) from a B737-300 and the FlyEngravity window frames is this setup as I have explained above is not possible.
My guess is that the cockpit of a B737-300 what is less than that of a B737-800.
When I use the ‘Eyebrow window’ fits against the Forward Overhead’ is the middenrib not in the extension of the ramenhoek and also the outside of the Eyebrow window is hanging just above the head of the Capt/FO, not from the edge of the cockpit. Not nice so ...
In order to fix this situation, I have a small modification:
The "Eyebrow windows" I have in a certain corner should hang nicely aligned with the ramenhoek and also to close against the side of the cockpit.
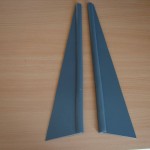
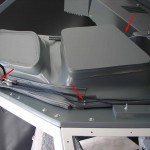
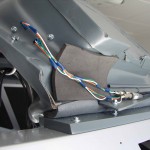
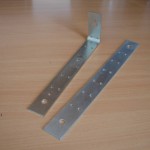
This creates a triangular opening between the Forward Overhead’ and the ‘Eyebrow window’. This opening, I then filled in with a triangular aluminum plate with a rubber strip against the side of the overhead (so it is a bit of give and take ...).
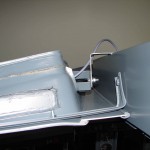
I have the ‘Eyebrow windows’ installed with 4 mounting points :
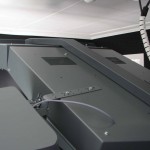
- The voorlip of the ‘Eyebrow window’ rest on the top of the panel of the ‘front-ceiling’. With 2 bolts, is this voorlip confirmed on the panel of the front ceiling;
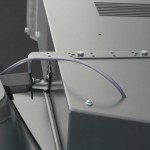
- With a bracket is the back of the ‘Eyebrow window’ attached to the side of the forward overhead’;
- The outside surface is at the back attached with a bolt to the top of the raamframe.
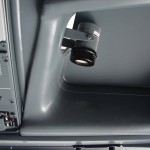
Confirmation ‘Map Lights’
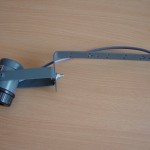
Together with the ‘Eyebrow windows’, it is also the turn to the ‘Map Lights’ to install. This ‘Map Lights’, I already have a while ago patched together.
This knutselverhaal is to be read at the following link : http://www.flightdeck737.be/pc/electronics-2/map-lights/
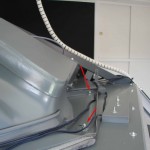
For the confirmation of the ‘Map Lights’, I have also a bracket is used, which I confirmed have top of the Forward Overhead. The L-shape of this bracket, I can spot beautiful in the opening of the ‘Eyebrow window’ places.
It is also possible for the ad to run through the central bolt of the bracket. I have extension rings are used with spring.
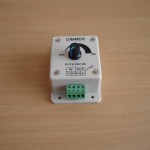
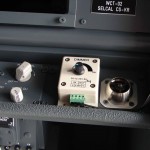
The cable of the ad runs through the ‘Forward Overhead, through the central tube of the cockpitframe, to the dimmer on the side of the Lower Panels. These dimmers can be fully disassemble. Later, the interior built into the conditioned panels on the front of the ‘Sidewall Tables".
The dimmers I purchased at DealExtreme.com.
Translated by Yandex.Translate and Global Translator
