Author Archive

Painting 1 – The primer

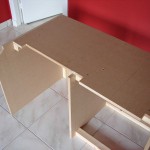
The parts that need to be painted, such as the MIP stand and ruddercompartiment are 2x in the primer set.

There is a lot of time in. Lots of nooks and crannies. A task of long duration.

More about this job on page Hardware/MIP/MIP stand

Now we can finally start the painting in the grey Boeing colour.

.

.

.

.

.

.

.

.

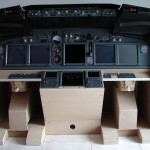
Rudder stands

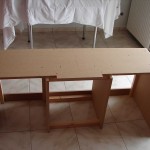
The rudderstands are this week's finished. The ruddercompartiment is made in 3 parts :

  • Ruddervloer
  • Raised rudderstand
  • ‘Rudder Pedal Adjustement’

More info and additional photos about the construction of the ‘rudder of stands is to be found on page Hardware/MIP/Rudder stands.

Now a few drill holes for the cable routing and we can start on the painting of the MIP and CDU-stand, stand-up rudder stands and ‘Rudder Pedal Adjustement’ part. The ruddervloer is coated with a thin aluminum plate.

.

.

.

.

.

.

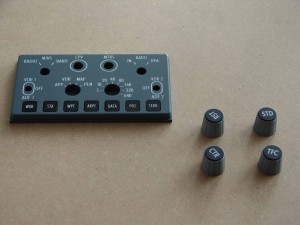
Dummie F/O Efis

Since there was no real Co-pilot (F/O) is provided for in this flightdeck setup is the presence of a functioning F/O Efis is not necessary.

The opening, the F/O side, is now filled with a dummy efis. So only a cover with inscriptions and the 4 buttons.

More info about this on the page Hardware/Efis – Dummy Efis

.

.

.

.

.

.

.

.

.

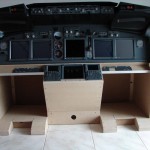
Lower panels

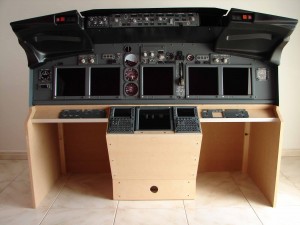
The Lower panels are off. The subpanels are for the time being just inserted. After the paint job be finished and mounted. These subpanels will serve to backlights of the MIP and indirect lighting allerhanden to arrange.

Also the back of the MIP is sealed with MDF panels.

More info and additional photos about the construction of the ‘lower panels’ is to be found on page Hardware/MIP/MIP Stand-Lower Panels.

Now I can start the ‘Rudder stands.

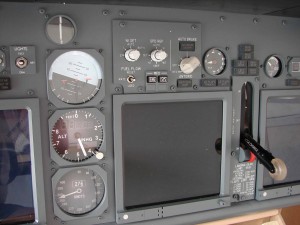
MIP Tools

The empty openings, where normally the MIP tools have come, for the time being, filled up with images.

The story is found on page Hardware/MIP/MIP Tools.

Thanks Kenny for the support !

State of affairs

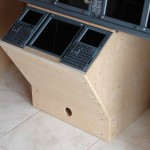
The CDU-stand is ready. 10 mm wider than the real size. This is for the safety, that everything runs successfully.
See Hardware/CDU.

Now we can start on the Lower panels.

.

.

.

.

.

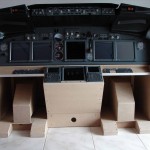
CDU Stand

Today started with the construction of the CDU (CDU-bay). So the tilt table before the MIP in which the CDU/FMC’s and ‘Lower’ EICAS’. See Hardware/CDU.

Test USB/MCP/PMDG drivers and electronics

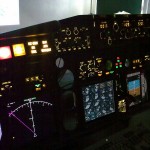
Everything connected to the PC and the various drivers loaded (USB, MCP and PMDG FSLabs).
Check that all buttons, switches and leds work + MCP and EFIS. Everything works ! Wow ! Impressive sight !

Now I can see what quality FlyEngravity and CPFlight in house... Really!!!

.

.

.

.

.

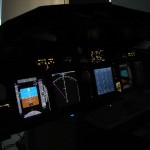
Test setup for PMDG PFD/ND and Upper EICAS displays

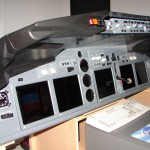
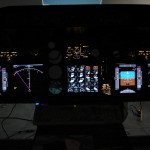
Configuring the various monitors in windows was pretty easy. Then the various PMDG displays PFD/ND and Upper EICAS sleep and to the appropriate monitor dragged. Than the size of the different windows adjusted to the size of the display frames. As expected, the side of the F/O is not optimal.

The monitor of the Capt side is just using a VGA splitter cable will be transferred to the F/O side. It should I have a piece from the base plate away so that the monitor a bit to the middle can be moved. The dual PFD/ND display correctly fit behind the windowframes of the MIP. When this is done. Everything fits perfectly!

By the attached black foam (foam), between the screen and the windowframe it also provides a beautiful depth perception on the PFD/ND and EICAS.
.

.

.

.

.
TFT-outs in the MIP mode, and placing monitors

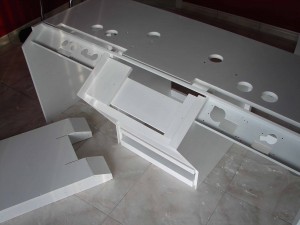
FlyEngravity has the necessary cut-outs made in the MIP-bottom to the 19"screens to them to begin. For they are sufficient to allow countersinking must be a part of the front of the MIP-stand cut out. The screens would be +- 15 mm need and therefore are therefore not under the table. I also need to take into account that the space that is cut out should be more than enough for the buttons on the front of the TFT's.

Also a couple of inches extra cut out from the base plate of the MIP for the F/O monitor. The planned cutout for the VGA connector was not sufficient to allow the full monitor to the right on the slide.

.

.

.

.

.

Return to top

FLIGHT SIMULATOR CLUB
'27TH SQUADRON'

Home of the Wildcats -------------- WCT02