Author Archive

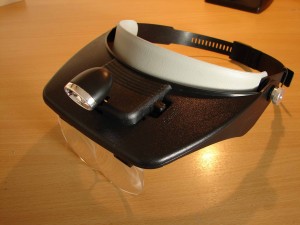
Magnifying glass with led lighting

If I am to interface cards, leds and soldering all kinds of I note that it is not easy and tiresome to make everything easy to see. Those things are usually very small and the errors or mistakes when connecting or soldering are quickly made.

At DealExtreme I got me a magnifying glass purchased with led lights (product number SKU 10066 – 13 Euro). You can that thing on your head, and is easy to fit. Furthermore, there are several glasses with different strengths that can be replaced.

On the front cover there is a switch to turn the led on and off.

All in all, a pretty handy tool that you can't miss.

.

.

.

.

.

.

.

.

.
License ProSim737

As a christmas present, I have the license, bought from my cockpitsoftware PROSIM737.

Since Christmas is this B737-suite officially available on the Prosim webshop, and from next year (31 Jan 2012) not free to use.

With the Beta version of this 737-software package, I have already had a lot of fun and certainly for me a ‘must’ to do with PROSIM737.

Much success wished to the ProSim737 team!

.

.

.

Interface annunciator ON INOP

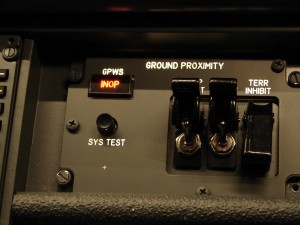
The annunciator (ON INOP), which is located on the Lower Dimming Panel (F/O) does not belong to the ICS and must, therefore, still ‘manually’ controlled.

As a test or experiment I for this purpose use is made of the ‘Pokeys Led Extension board’.

I already had a Pokeys interface Card for other things to interface with, and the Led Extension board’ was for me a very cheap solution to this single annunciator.

How this happens with these ‘Led Extension Board’ is to be read on the page PC Setup/Interface/Interface annunciator ON INOP.

.

.

.

.

.

.

.

.

Assembly annunciator with leds

The F/O side of the Lower Dimming Panels lacked the annunciator ‘ON INOP’.

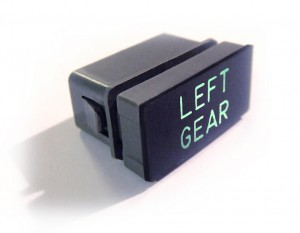
An annunciator or warning light is composed of a ‘annunciator holder with 1 or 2 leds.

The annunciator holder that I use comes from FlyEngravity.

Further info can be found on page PC Setup/Electronics/Assembly annunciator with leds.

.

.

.

.

.

.

.

.

Start Forward Overhead Panel

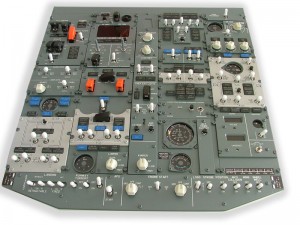
Today, I have the go-ahead was given for the construction of the FWD Overhead Panel, and this by the order of the different OVH-parts FlyEngravity.

What is all on the order form :

  • FWD OVH EPB-frame;
  • FWD OVH EPB panels;
  • FWD OVH ICS-pcb's;
  • FWD OVH Coverbox for the frame;
  • AFT OVH Coverbox for the frame.

Delivery will be +- mid-december.

It is thus, once again, ICS has become.

Now nothing soldering or interfacing. Only the ICS pcbs with annunciatorholders and EPB panels mounting and connecting.

The discussion and the how and why with a lot of photos of this OVH will follow later on this website.

.

.

.

.

.

.

.

.

.

FSWeekend Lelystad (NL)

Saturday 05 november, I again the annual trip to Lelystad. Each year in november in the Aviodrome at Lelystad Airport a FSWeekend held.

This flightsimbeurs is world class, where several types of FS-clubs are represented. Also different hardware manufacturers are there to get their latest products to the public. And this can go from a simple handlebar to a full high-tech cockpit. Also the cockpit of Every Teaching Experience Lelystad is to visit.

This year I will be especially browsing for information for my overhead that I at the end of this year-early next year, wants to build on. Also the greetings are going to do with the guests of FSClub Friesland, ProSim and FlyEngravity.

For those who are busy with cockpitbouw is this FSWeekend is a “must” and also for the average flightsimmer, this is certainly a must.

.

.

.

.

.

PowerLan

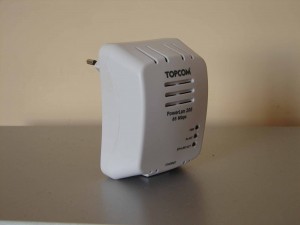
Last weekend, I have a test done with a pair of Powerline adapters. Thanks to powerline (PowerLan) is changing the power grid in your home, in a data network. This has the advantage that no additional cables need to go to a place where you have a connection to your network that you want to build.

More info on page PC Setup/Utilities.

.

.

.

.

.

.

.

.

.

Interface ON Sys Test

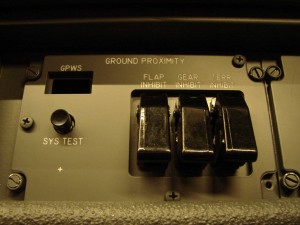
At the Lower Dimming Panels, to the F/O side, is located the pushbutton SYS TEST. By pressing this button, several tests are carried out. Provisionally one can hear the different ON Warnings as a test.

How this switch can interface with the Pokeyskaart and ProSim737 you can read on page
PC Setup/Interface/Interface ON the Sys Test.

.

.

.

.

.

.

.

.

.

Interface brightness DU's

Now the buttons are ready, at the Lower Dimming Panels, for adjusting the DU, they also have service such as : the dimming of the different Display Units.

Together with the Pokeys 55 interface Card and the cockpitsoftware Prosim737 is this task very easy.

More info on this can be found on page PC Setup/Interface/Interface brightness DU's

.

.

.

.

.

.

.

Buttons Lower Dimming Panels

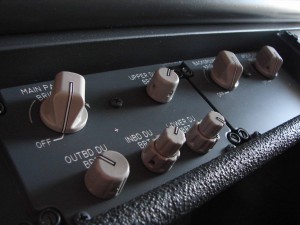
This week the finishing done of the buttons on the Lower Dimming Panels. The panels I purchased from FlyEngravity and were only equipped with the big Boeing Style knobs. The others buttons, they had not.

FlyEngravity has given me a few free samples of the Boeing 737 B Style sent and who they had cast as a test. I would need further finishing.

The dual concentric knobs were also hard to find. I have met with Simparts (D).

More info on page PC Setup/Electronics/Buttons.

.

.

.

.

.

.

.

.

.

Return to top

FLIGHT SIMULATOR CLUB
'27TH SQUADRON'

Home of the Wildcats -------------- WCT02